How to Design Your Own Thank You Cards
A thank you card is one of the simplest yet most powerful ways to show appreciation. Whether you’re thanking a client, employee, customer, or friend, a handwritten note paired with a custom design feels far more personal than a quick email.
Designing your own thank you cards lets you express gratitude in a way that’s uniquely yours — thoughtful, creative, and memorable.
Step 1: Decide on the Purpose
Before you start designing, think about who you’re sending your cards to and why. Are you thanking clients for their business, employees for their hard work, or friends for their support? Knowing the occasion and audience will help you decide on the right tone, message, and design style.
Step 2: Choose the Card Format
Folded cards provide more room for a longer handwritten message, while flat cards work beautifully for short, simple notes. Businesses often prefer folded cards for their professional look, while personal thank you cards can be more flexible. Either way, select a format that complements the message you want to share.
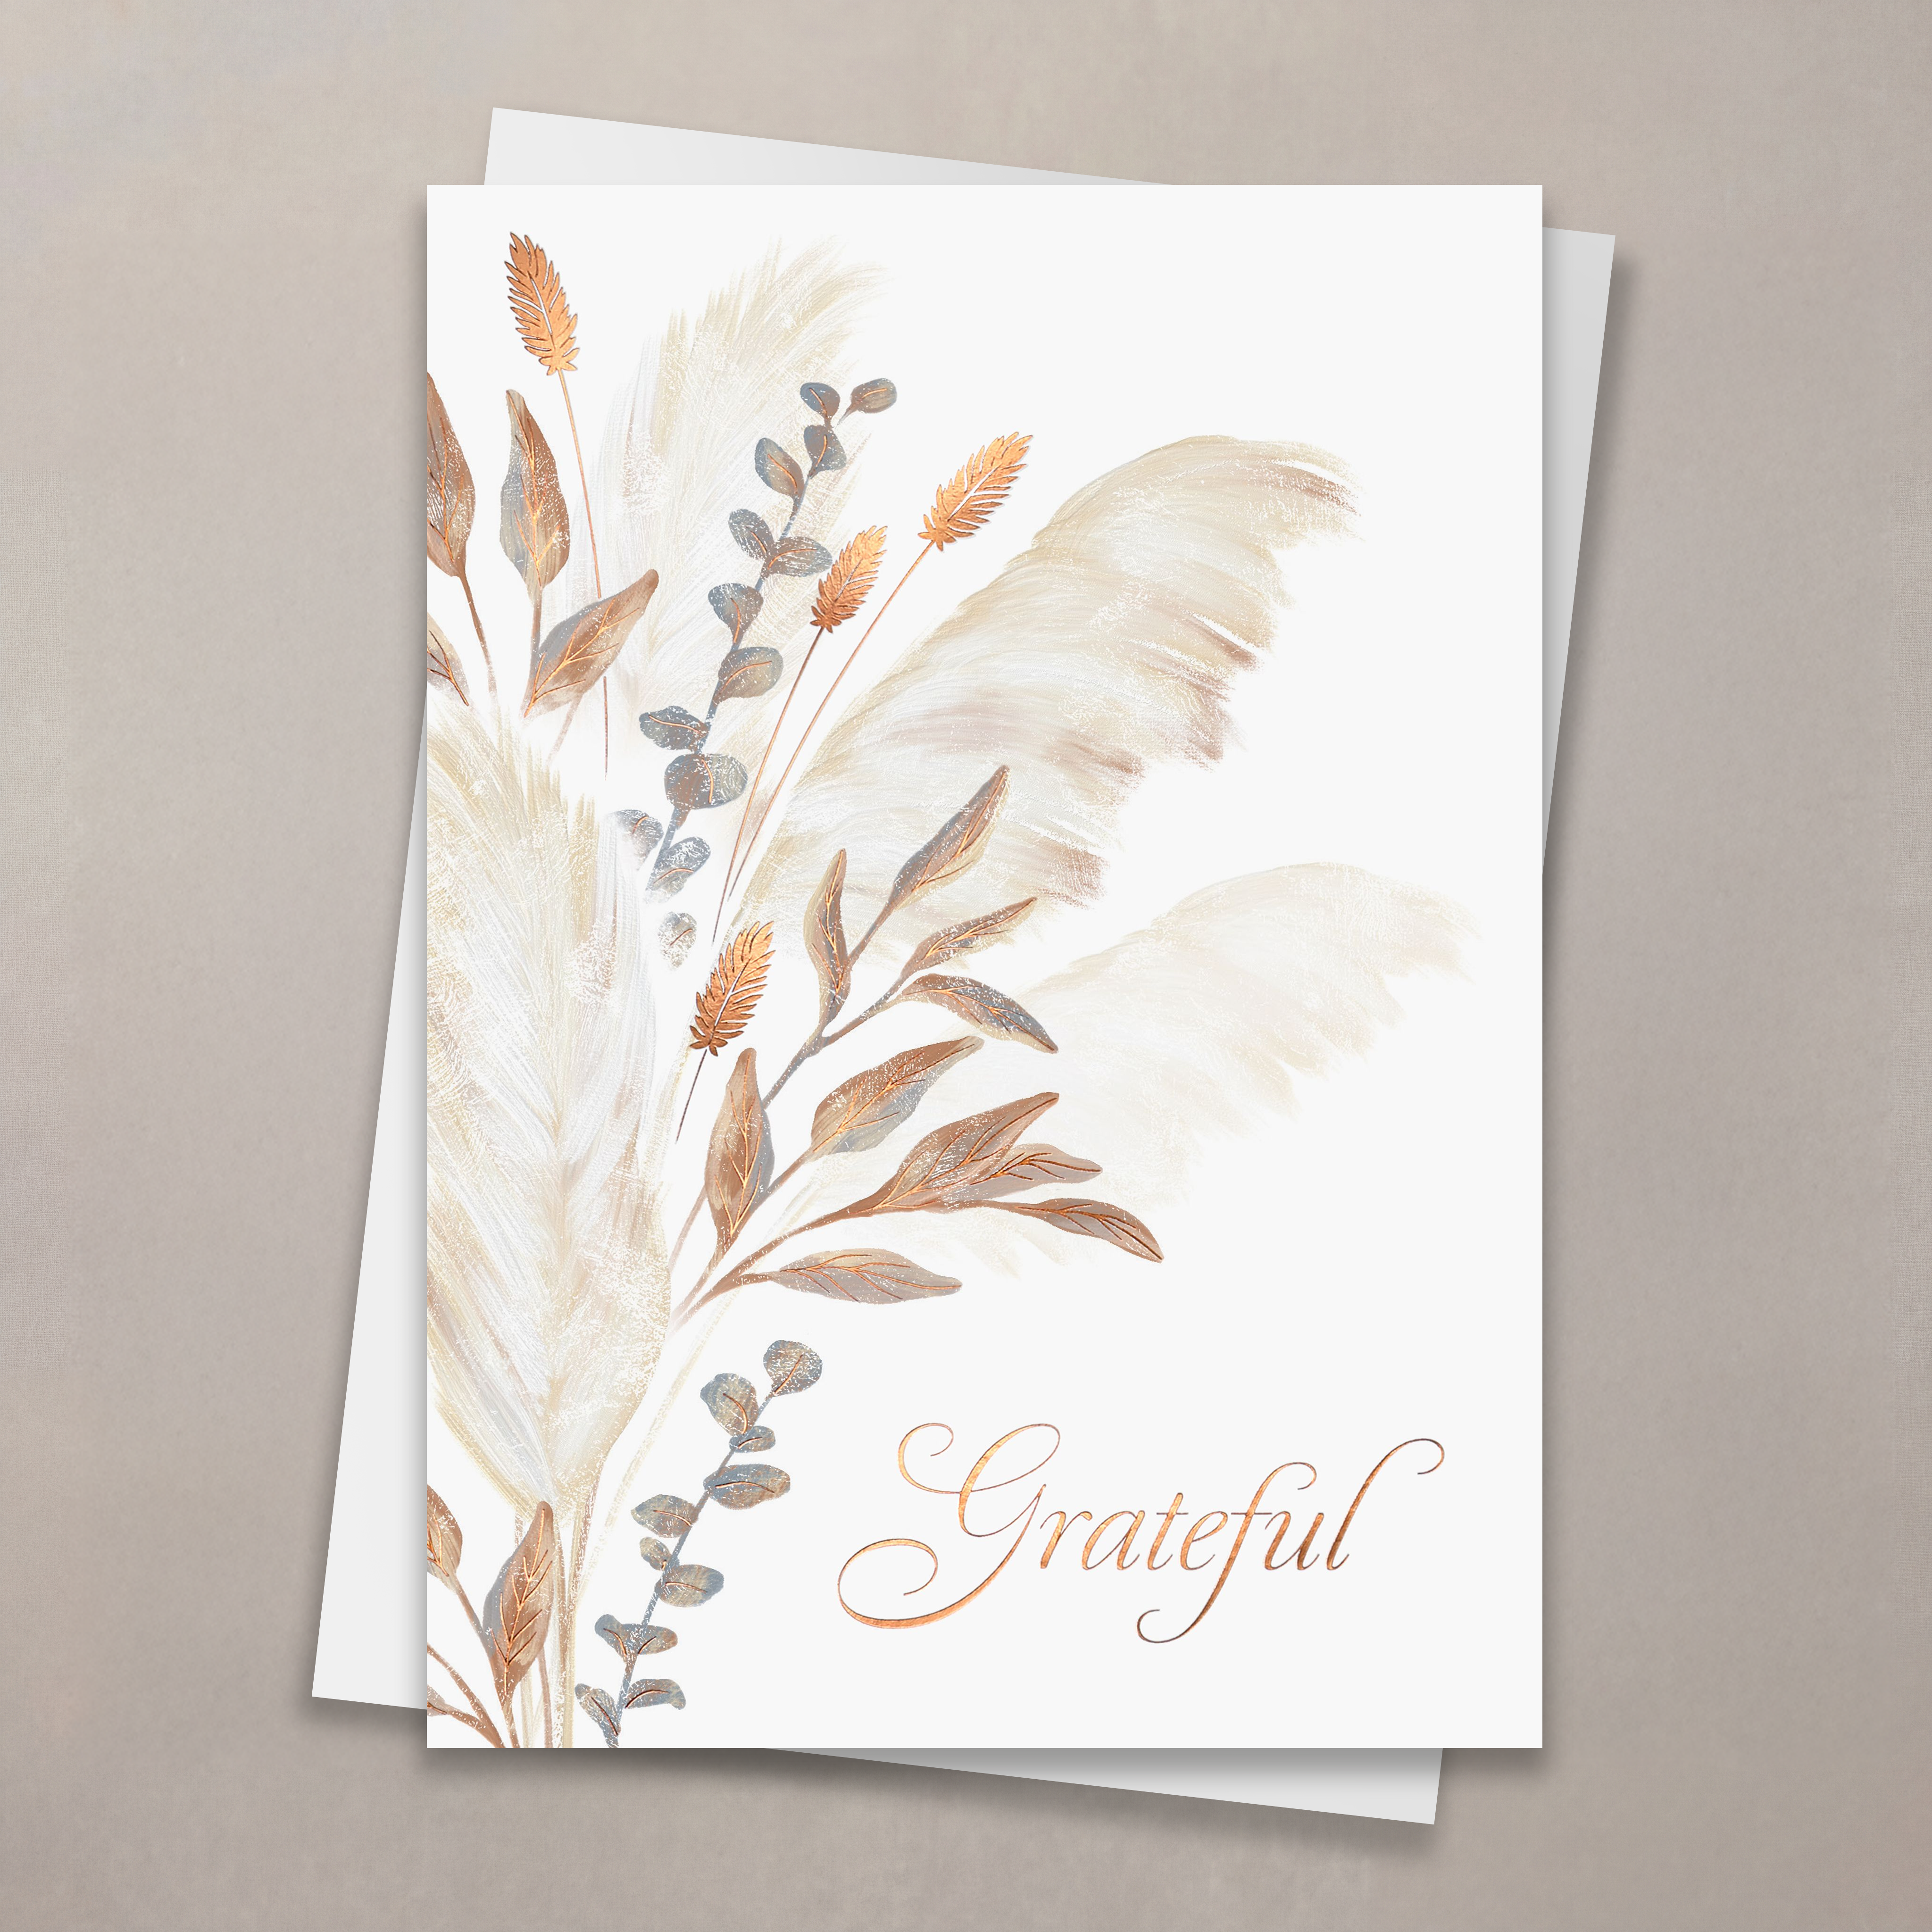
Step 3: Pick a Style That Fits Your Personality or Brand
Your card’s design should reflect your personality or, in the case of a business, your brand identity. Soft, neutral tones work well for professional thank you cards, while colorful or playful designs suit casual and personal occasions. If you’re designing on behalf of your company, consider incorporating your logo or brand colors subtly for a cohesive look that feels polished but still personal.
Step 4: Write a Message That Feels Genuine
A thank you card doesn’t have to be long to be meaningful. The key is sincerity. Here are a few examples to inspire you:
- “Thank you for your continued trust — it means the world to us.”
- “We appreciate your support and the opportunity to work with you.”
- “Your kindness and thoughtfulness truly made a difference. Thank you!”
- “We’re grateful for your partnership and look forward to continued success together.”
Keep your message focused on gratitude. Whether personal or professional, a heartfelt tone always stands out.
Step 5: Choose Complementary Fonts and Colors
Design elements should enhance your message, not distract from it. Use clean, legible fonts and a color palette that matches the tone — muted tones for formal notes, or bright, cheerful hues for friendly messages. A balance of white space helps the text feel open and easy to read.
Step 6: Incorporate Visual Details
Even simple design touches can elevate your thank you card. Consider adding an elegant border, subtle background texture, or small icons like florals, stars, or minimalist shapes. For businesses, embossed or foil-stamped accents can add a touch of sophistication.
Step 7: Proof and Personalize
Before finalizing your design, double-check for typos and ensure that names, titles, or logos are all accurate. Once printed, take time to sign each card by hand or include a brief personal note. A handwritten touch turns a nice card into something truly memorable.
Step 8: Print With Quality in Mind
High-quality cardstock and printing make a big difference in how your card feels. Choose a sturdy paper weight and a matte or glossy finish that complements your design. When your cards arrive, pair them with matching envelopes for a cohesive, professional presentation.
Step 9: Send With Timing and Intention
Send your thank you card as soon as possible after the event, purchase, or gesture you’re acknowledging. Promptness reinforces sincerity and helps your appreciation feel fresh and genuine. Whether it’s for a new client, a loyal customer, or a supportive friend, a timely thank you never goes unnoticed.
Designing your own thank you cards is about more than aesthetics — it’s about connection. A personalized card makes people feel valued and seen, strengthening relationships in ways that last far beyond a single note of appreciation.